


How to Draw an Eye
Maybe a better title is how I draw an eye

This is actually a tutorial I made for one of my daughters to help her understand the various elements that control the shapes an artist has to draw when depicting the human eye.
There is a natural inclination for people who are just beginning to take drawing seriously to attempt to draw what they see rather than to understand why various elements look the way they do. That’s not to say that it’s impossible to become an accomplished draftsman by copying what you see, but I think it’s easier if you understand the factors that influence the shapes as well as attaining the manual dexterity needed to replicate those forms.
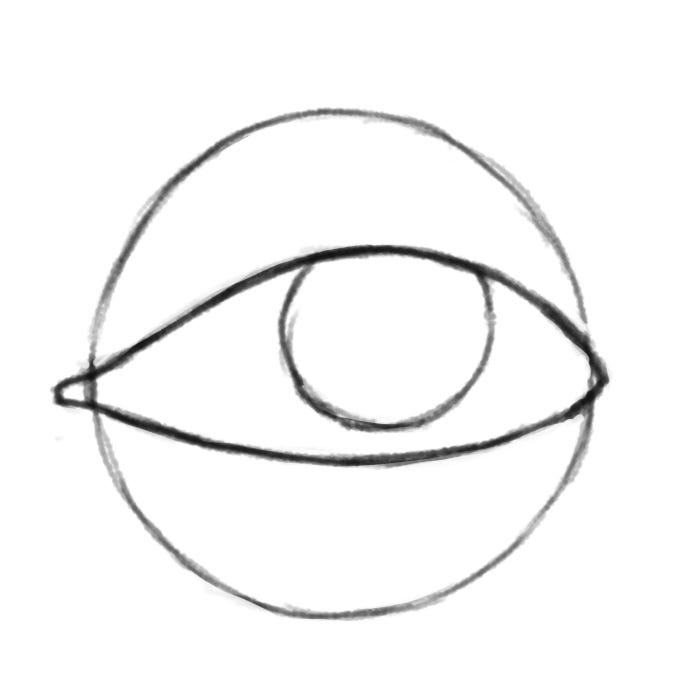
Let’s begin with the most basic shape that is going to influence our depiction of the human eye: the sphere of the eyeball itself.
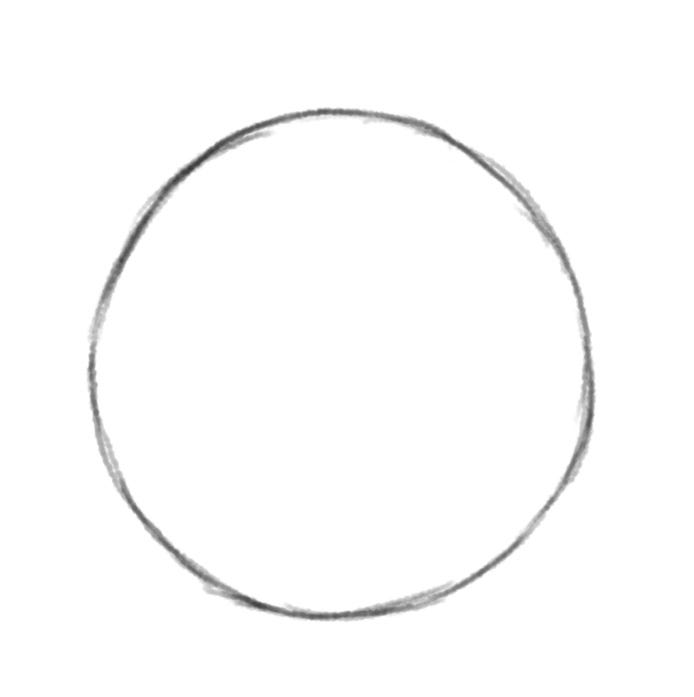
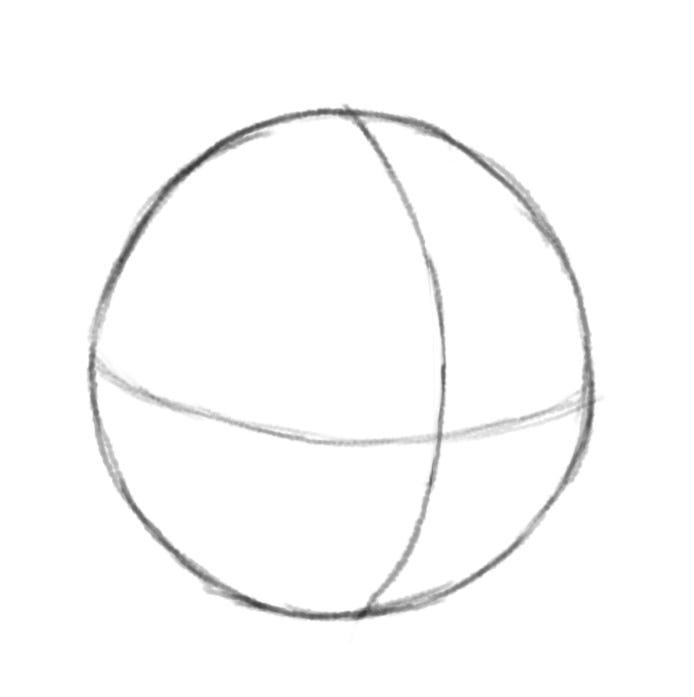
For this, I’ve just drawn a circle, but it’s important to visualize it as an actual 3D object if possible. If you struggle with that, then, feel free to lightly draw contour lines to help remind you of the form.
Next, we’re going to add the pupil. Again, I’ve depicted it as a simple circle, but you can feel free to add contour lines if you like.
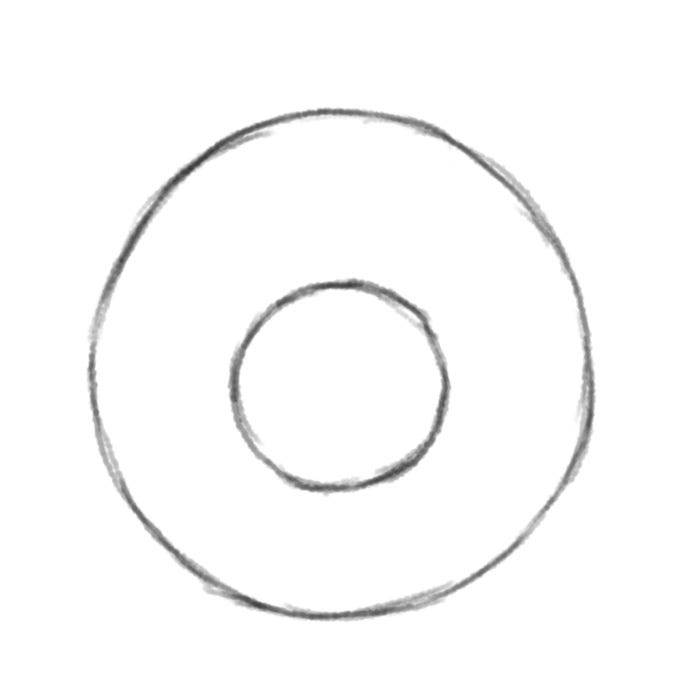
One important thing to understand about the pupil is that it is raised away from the sphere of the eye. I’ve exaggerated how much it’s raised to make the point because of how much this raised surface influences the shapes of the eyelids.
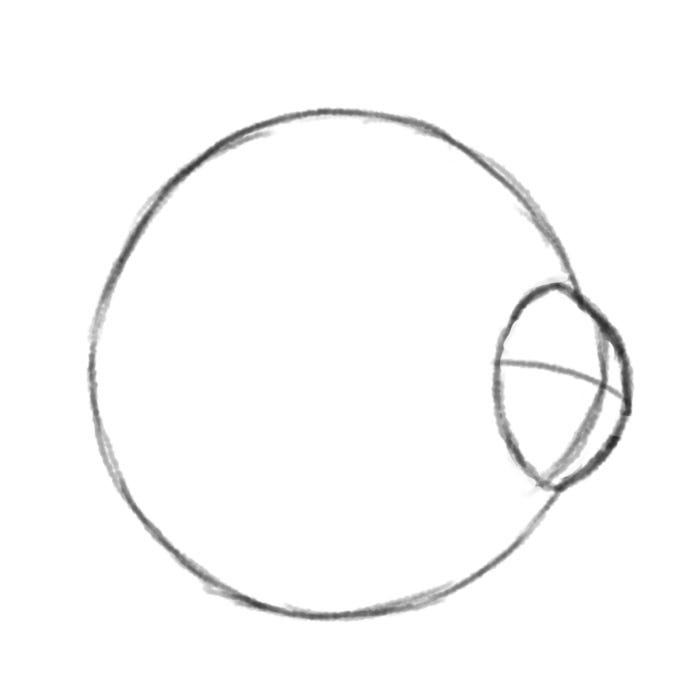
The pupil can and does move around. For that reason, I believe it’s important to draw the pupils first because once you know where they are then you’ll understand how to depict the shape of the eyelids.

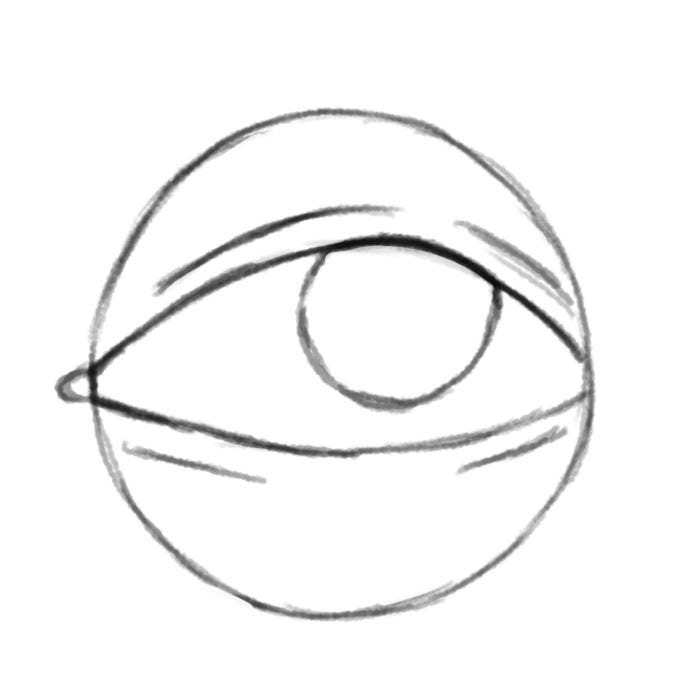
The eyelids conform to the shape of the eyeball and the shape of the pupil. For that reason, it’s important to show those folds of skin wrapping around the underlying shapes. The highest part of the arch of the upper eyelid is always going to be located in the center of the pupil. This— and wrapping the eyelids around the shape of the eye— are the most important part of depicting the underlying anatomy.
In this image, I’ve changed the location of where the pupil is focused to show you how it affects the shape of the eyelids. Additionally, I’ve suggested the outer edges of the eyelids by adding some lines that mirror the contours of the lid’s opening.
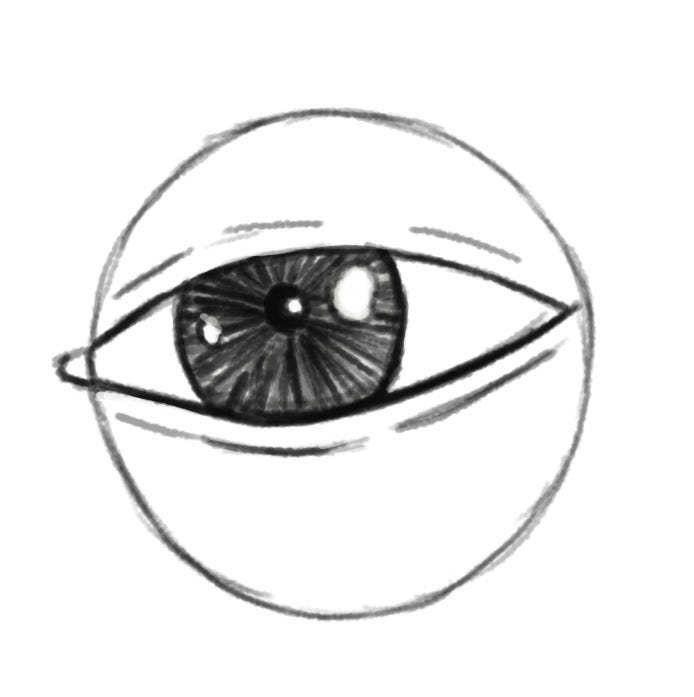
The next step is to draw the circle for the iris and add the lines that depict the rods and cones for the pupil. I haven’t shaded this in all the way yet, but I did want to point out something about light reflection.
The eye is moist. The pupil is raised up away from the eyeball. For that reason, if you have a strong light source shining on one side of the pupil, light will pass through the pupil and will be depicted as a bright spot on the opposite side. At times, you’ll also see the light being reflected on the iris itself.
Once more, I’ve changed the position of the pupil to show how it influences the shapes of the lids.
Below, I have begun to shade out the eye and add some additional details to show wrinkles and reveal the geometry of the underlying shapes.
One thing that’s easy to forget when shading the eye is that the eyelid itself and the pupil all cast shadows. For that reason, the areas immediately under the top eyelid will be darker on the pupil and the areas around the pupil.
The more detail you add to these areas the more aged and elderly your character will appear. If you are drawing someone who is young, your goal is to hint at the forms by subtle changes in tone and value. The younger the character is the more restrained you want to be in your use of hard lines.
Hard lines equal age.
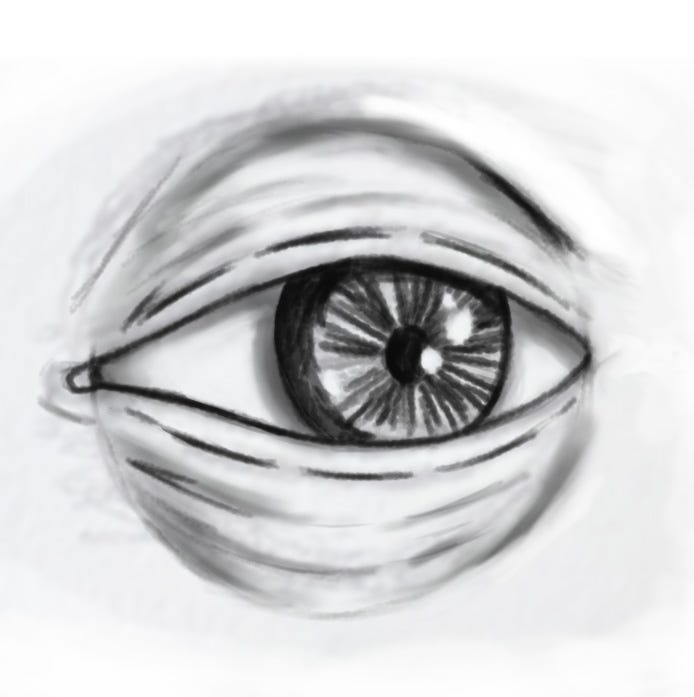
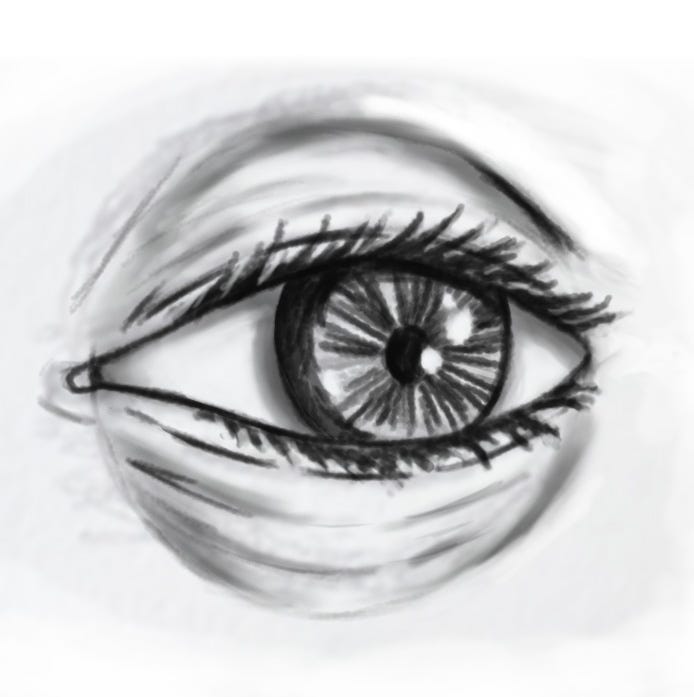
The last step and one that isn’t always needed is to add eyelashes. I say it’s not always needed because the eyelashes aren’t normally visible in any detail unless you have some type of zoomed in view like we have below. If you’re drawing a portrait from say three feet away, the eyelashes will only be visible as a darkened line around the the eyelids.
Additionally, the circle that you’ve been using to show the outer edge of the eyeball can be used to depict the eye socket by erasing the hard edges and smudging the line so it looks more like a shadow. The idea here is to just hint at the idea— not to go out of your way depicting that shape… unless your character is emaciated or elderly.
If you decide to try your hand at drawing an eye, I hope you’ll share the results with us. If you have questions, feel free to ask. I’m happy to help.
Posting this today was a bit of an experiment. Please let me know if this type of content interests you or not. Thanks.
I’m bookmarking this because I am very new to drawing! Thanks for sharing.
I’ve always had trouble with eyes. This is super helpful!